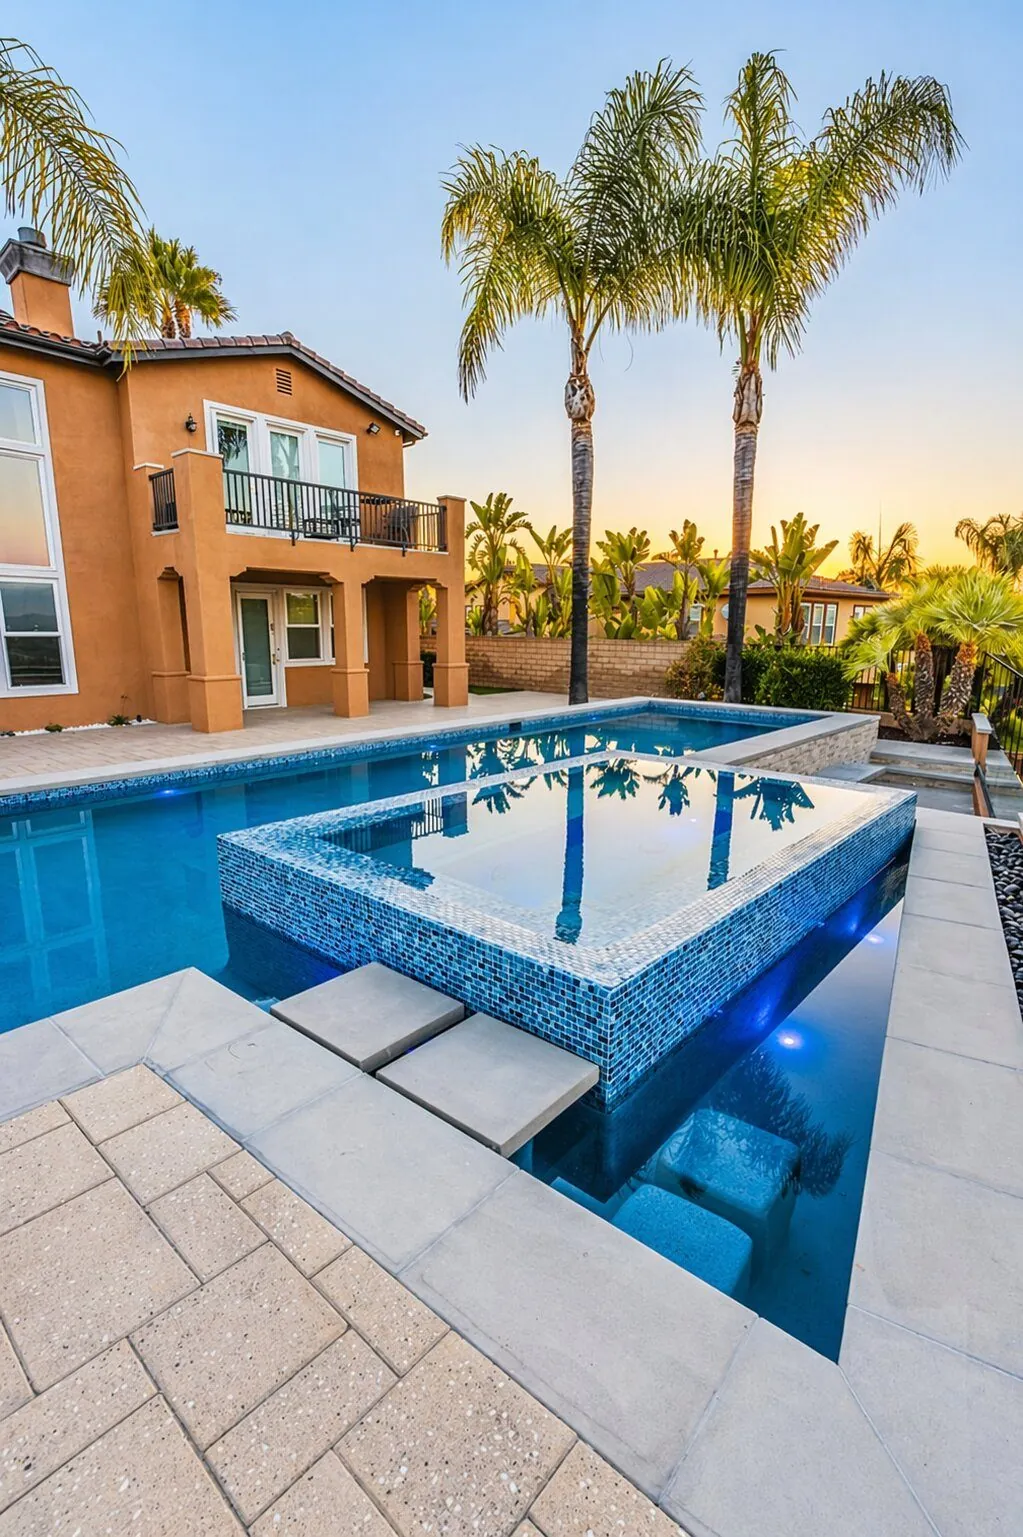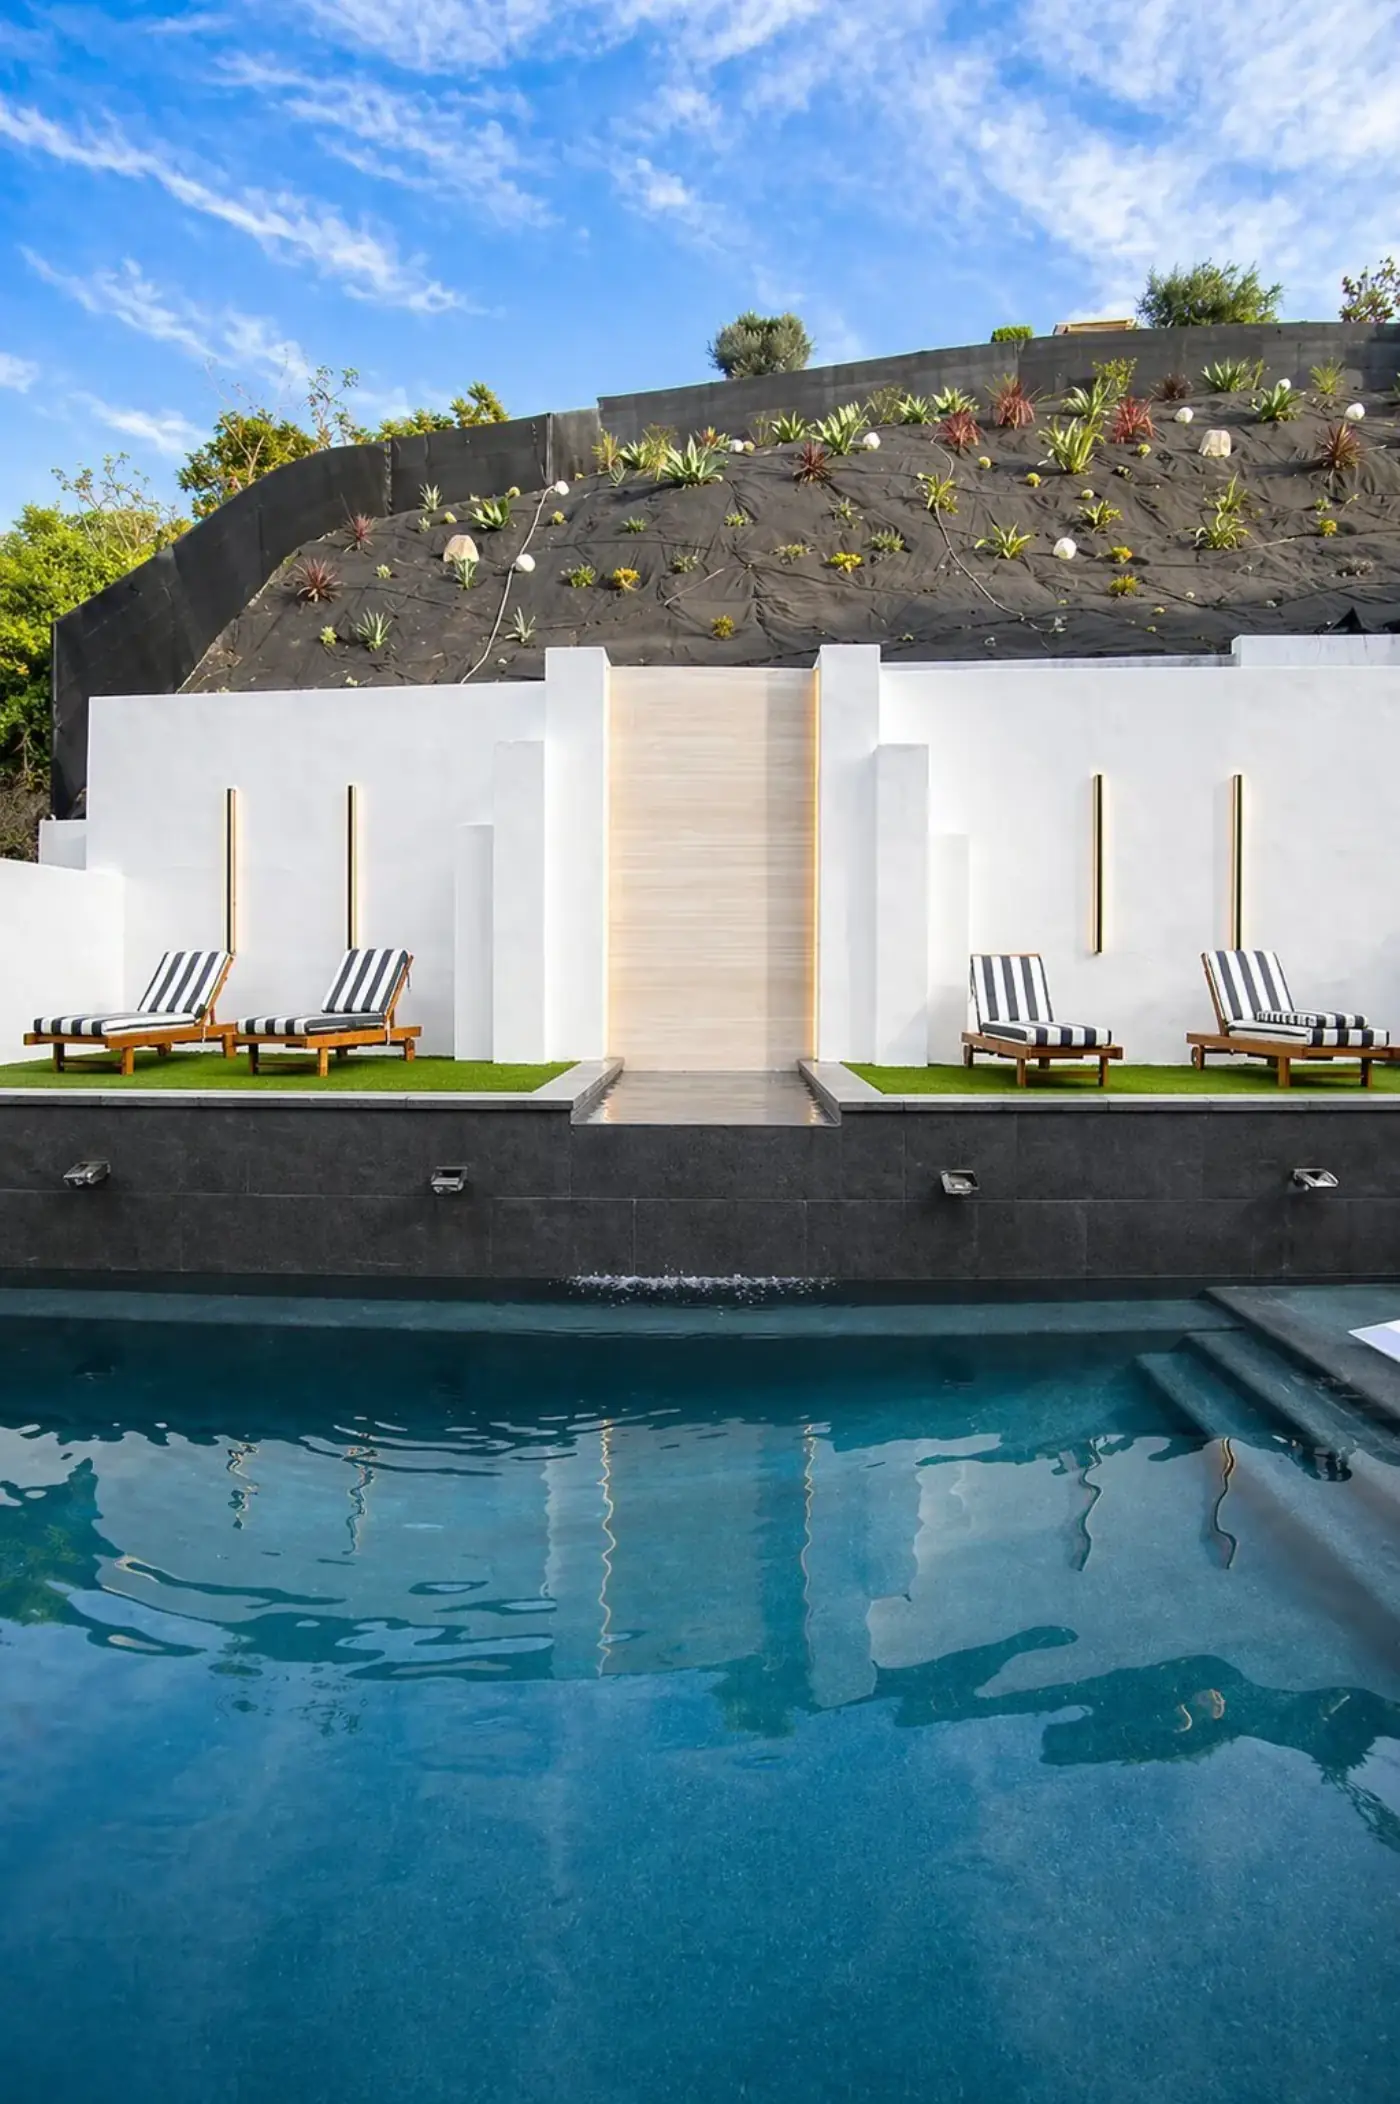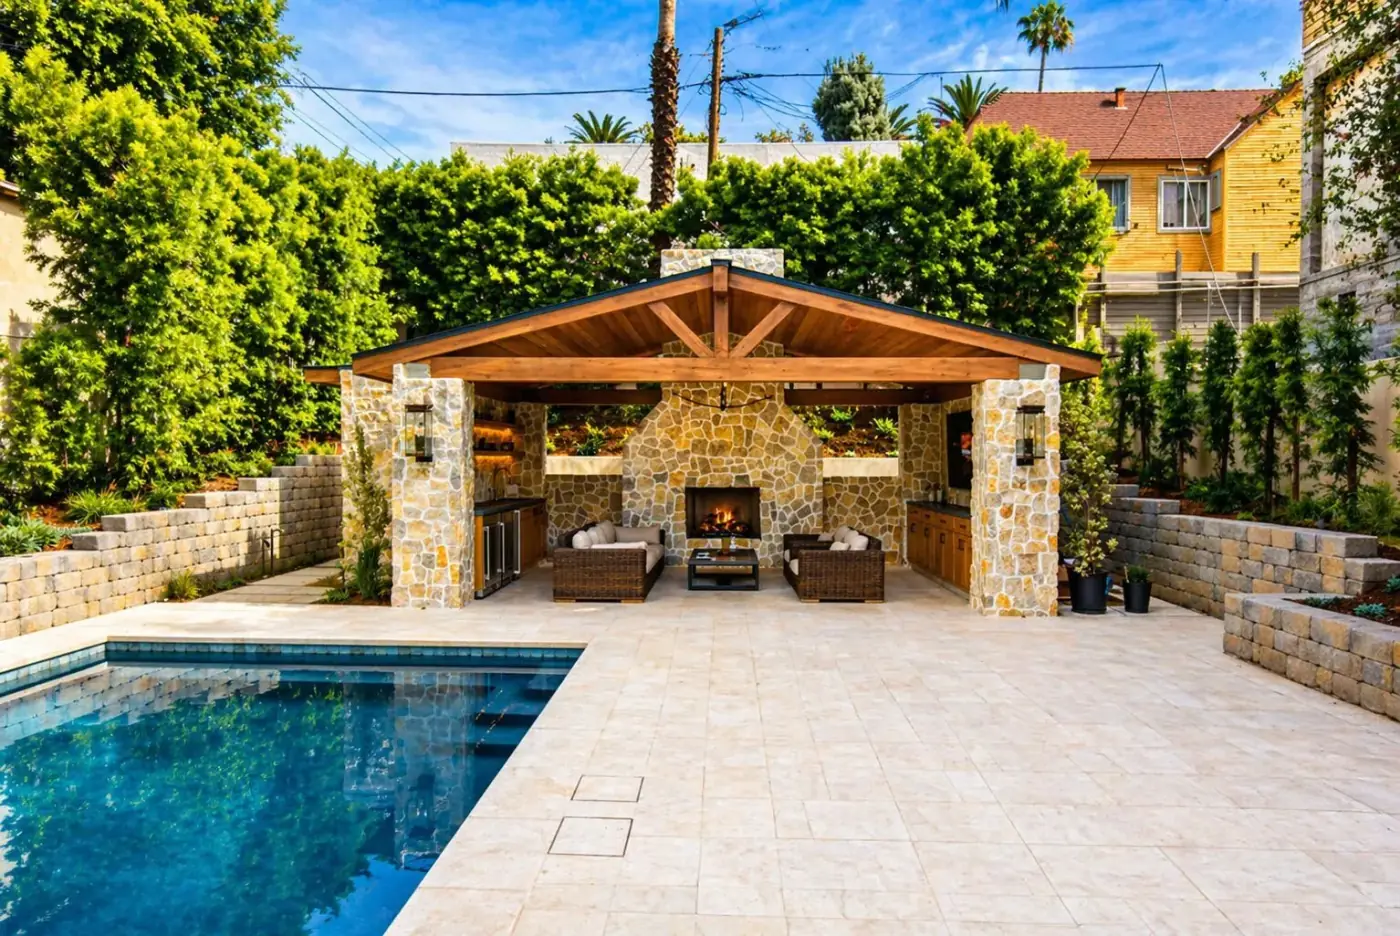
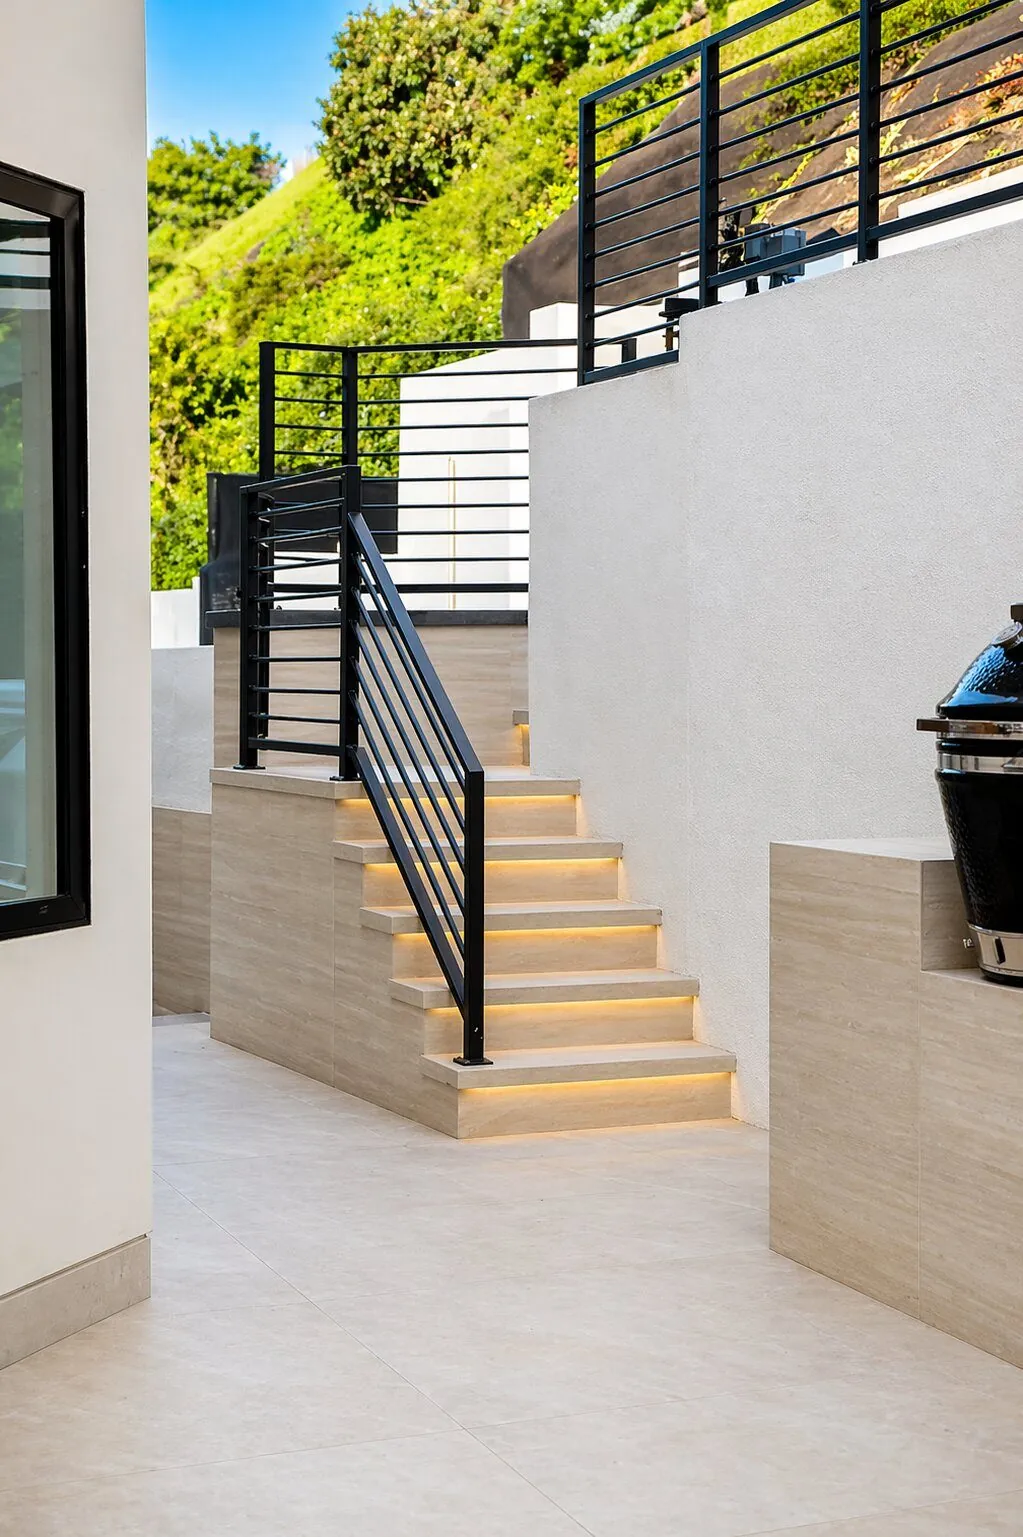
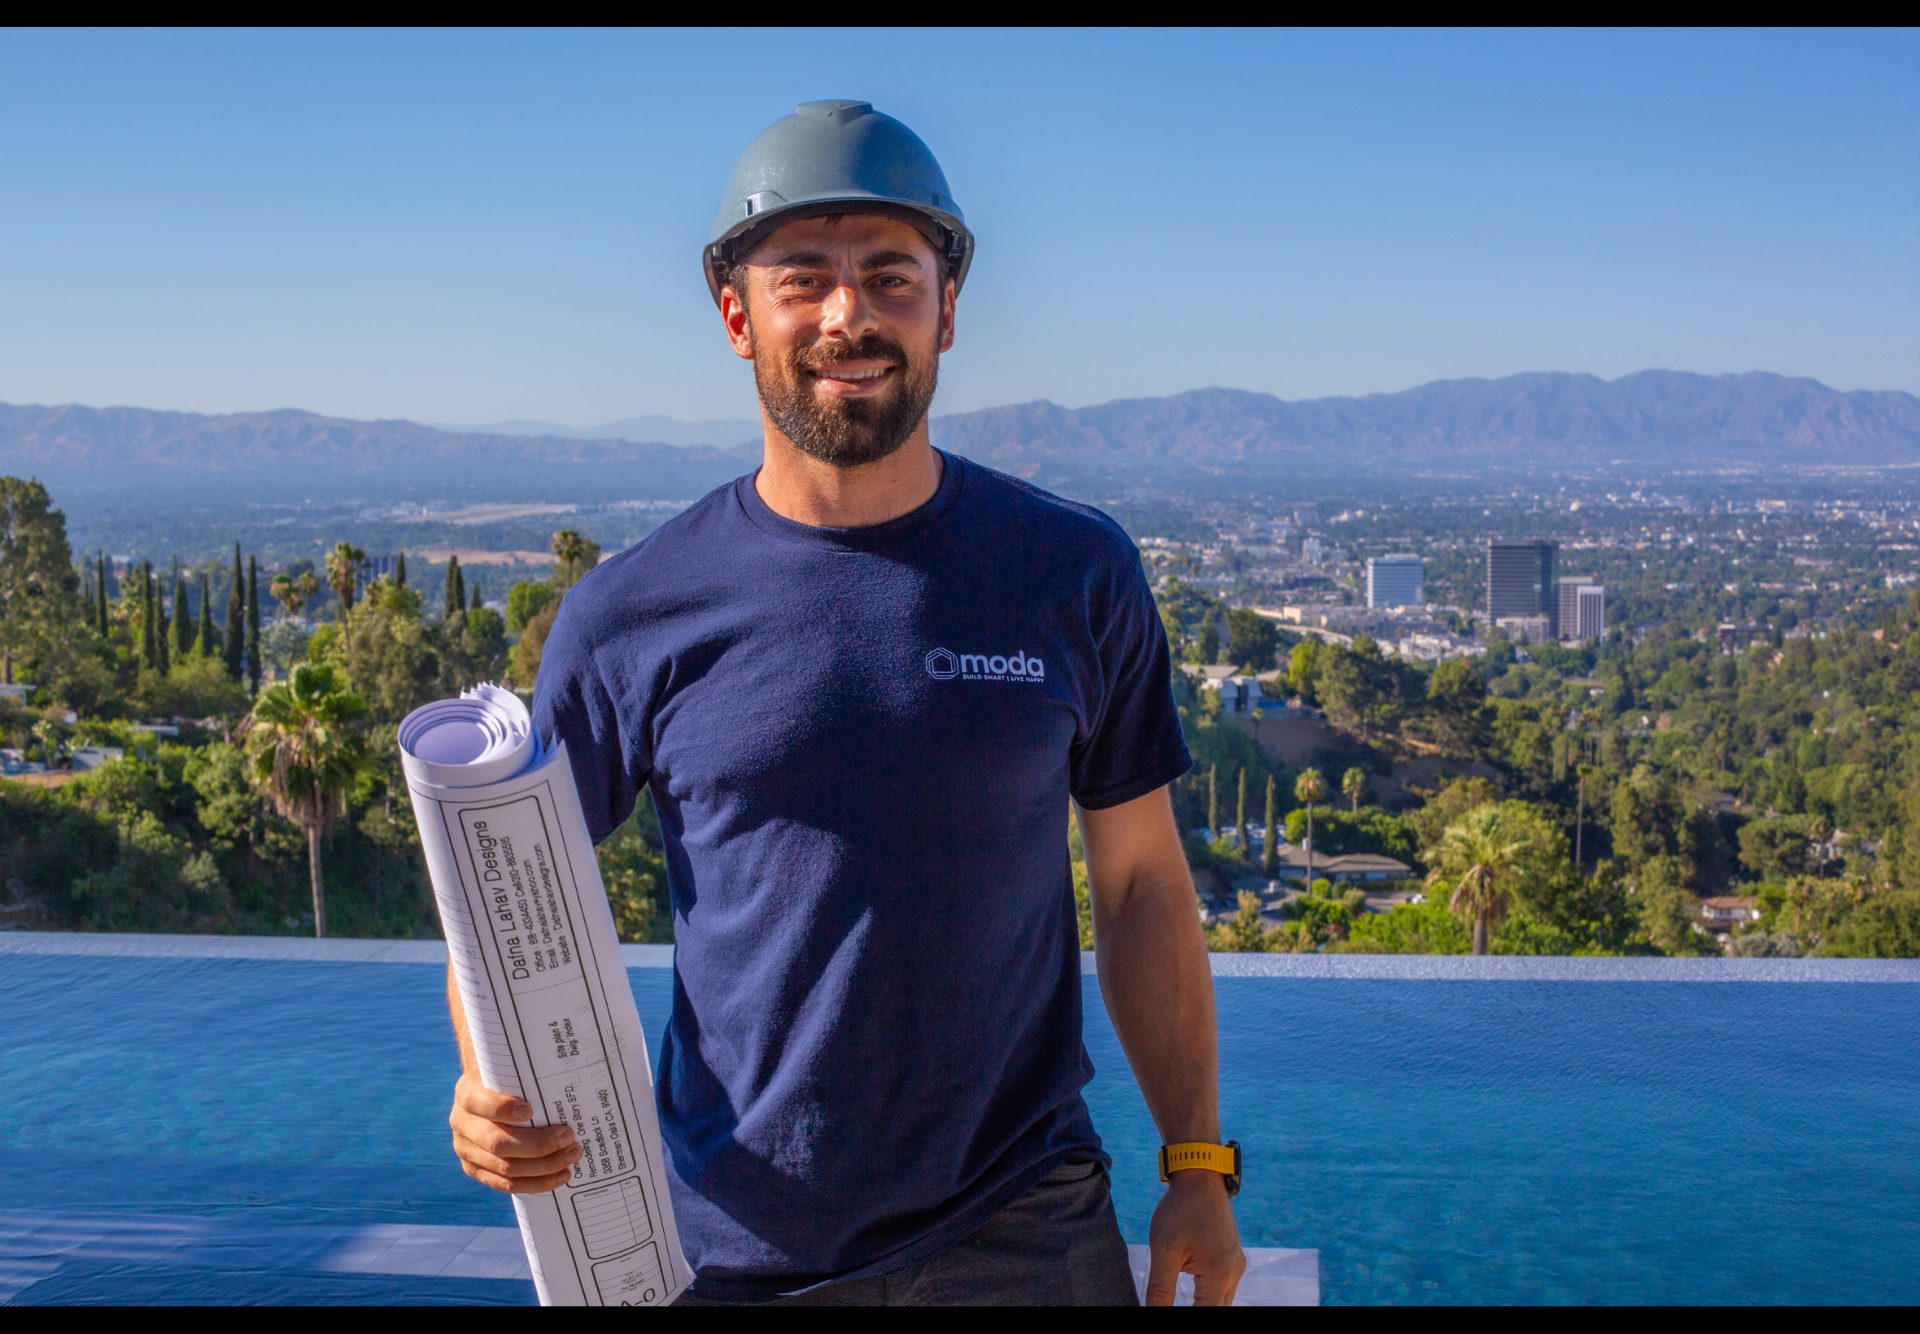
When Monique came to us, her pool was tired. Stained plaster, cracked coping, dated tile. She wanted a complete transformation—and that's exactly what we delivered.
The Anatomy of a Pool Remodel
Phase 1: Drainage & Demo
We drain the pool (taking care of local water regulations), chip out old plaster, and remove tile and coping. This reveals the pool's actual condition.
Phase 2: Structural Repairs
Cracks in the shell are repaired with hydraulic cement and structural waterproofing. Rebar is checked and addressed if needed.
Phase 3: Tile & Coping
New waterline tile is set, and coping (the cap around the pool edge) is installed. This is where design choices really shine.
Phase 4: Interior Finish
Finally, the new interior surface is applied—whether pebble, quartz, or plaster. Each has different looks, textures, and price points.
They completely transformed our backyard with a beautiful new pool. The Baja bench was one of Ilan's creative suggestions. — Monique Q.
For Monique, Ilan suggested adding a Baja shelf—a shallow ledge perfect for lounging with a drink. Little touches like this make all the difference.
💡 Pro Tip
Consider your pool's lighting during remodel. LED color-changing lights add ambiance and are relatively inexpensive to include during construction.
What Our Clients Say
"They completely transformed our backyard with a beautiful new pool. The Baja bench was one of Ilan's creative suggestions."
Monique Q.
 via Yelp
Watch the Transformation
Frequently Asked Questions
How do I choose between pebble and plaster?
Plaster is more affordable but less durable. Pebble/quartz lasts longer and has more texture options. We'll show you samples.
Do I need to resurface if I'm just replacing tile?
Not necessarily, but it's often more cost-effective to do both at once.